
Setting up your Cloudflare R2 credentials
A step-by-step walkthrough for connecting R2 Bucket Boss to your Cloudflare R2 buckets.
R2 Bucket Boss needs two separate Cloudflare credentials, plus your Account ID: an API Token for browsing and creating buckets/folders and purging your CDN cache, and a separate R2 Access Key ID / Secret Access Key pair for the S3-compatible file transfers themselves. If you also want R2BB to generate shareable web links, you'll set up a Public URL for the bucket too.
1. Account ID
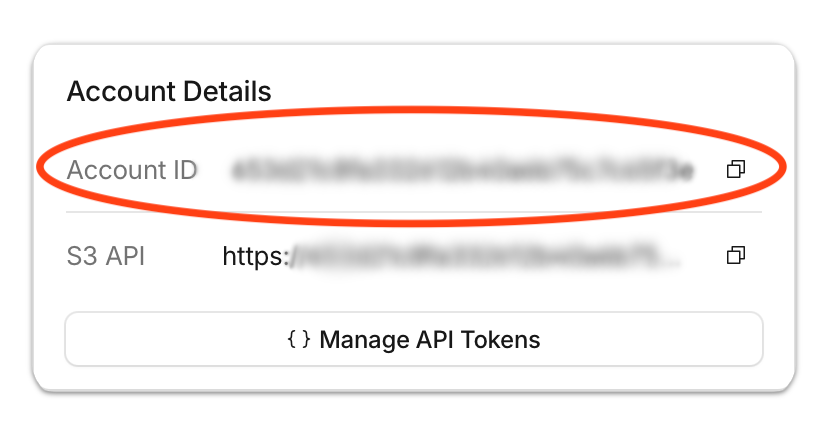
Find your Account ID
Open the R2 Overview page in your Cloudflare dashboard. Scroll to the bottom of the page and look for the Account ID section. (If on desktop browser it may be in the right side column)
Copy the account ID text and paste it here.
2. Account API Token
Open your Account API Tokens page
Open the Cloudflare dashboard via the link below. Cloudflare has two kinds of API token - make sure the page says “Account API Tokens,” not “User API Tokens.” (If it opens to the wrong one, it's under a different menu: your account name in the sidebar → “Manage Account” → “API Tokens.”) An Account token keeps working no matter who created it or whether they're still around - a User token stops working if that person ever leaves or loses access, which is the wrong trade-off for an app's saved credentials.
Once you're on the right page, click “Create Token.”
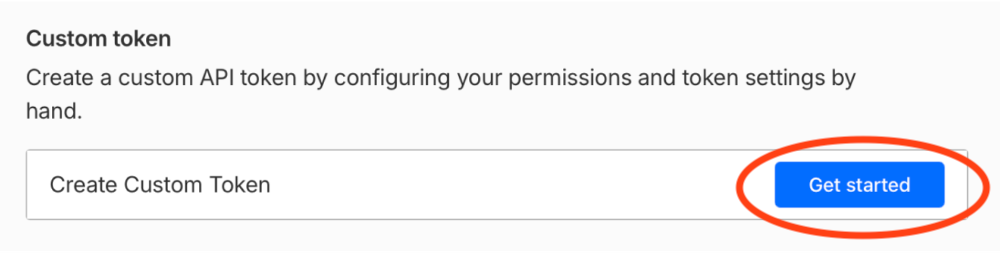
Open Account API Tokens →Create a custom token
Choose “Custom token” → “Get started.”.
Add the required permissions
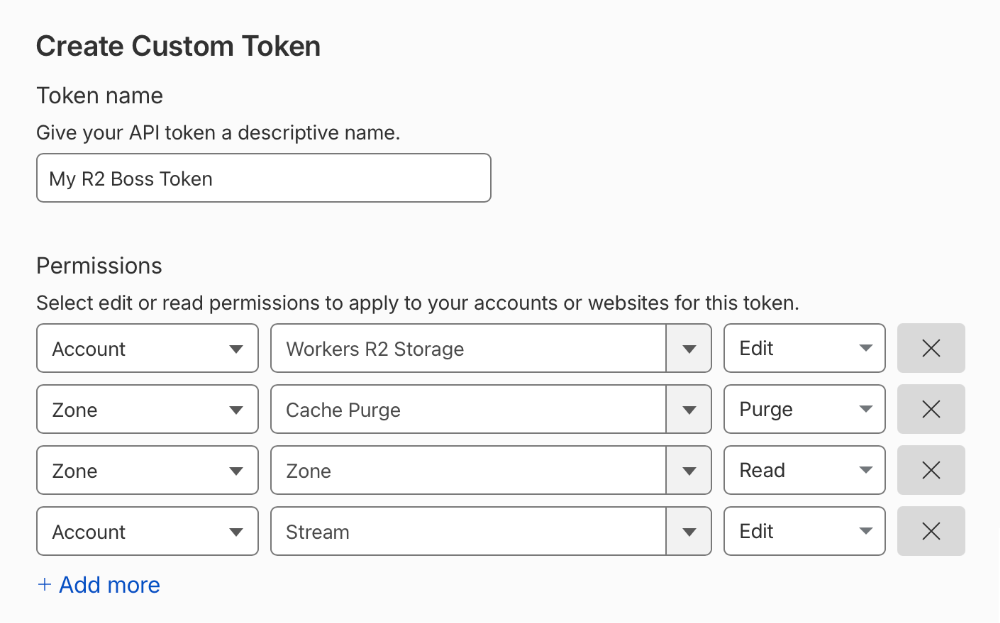
Add the following permissions, clicking “+ Add more” before each new one after the first:
a) “Account – Workers R2 Storage – Edit”
b) “Zone – Cache Purge – Purge” - pick “Specific zone” and the domain your CDN URL uses, not “All zones”
c) “Zone – Zone – Read” for that same specific zone - without this, purging silently does nothing on every upload; Cache Purge alone can't look up the zone it needs to purge
d) “Account – Stream – Edit” - every Cloudflare account has a “stream” folder shown alongside your buckets, and without this permission opening it shows an error. (The other fields are optional.)
Scroll to the bottom and tap "Continue to summary."
Review and create the token
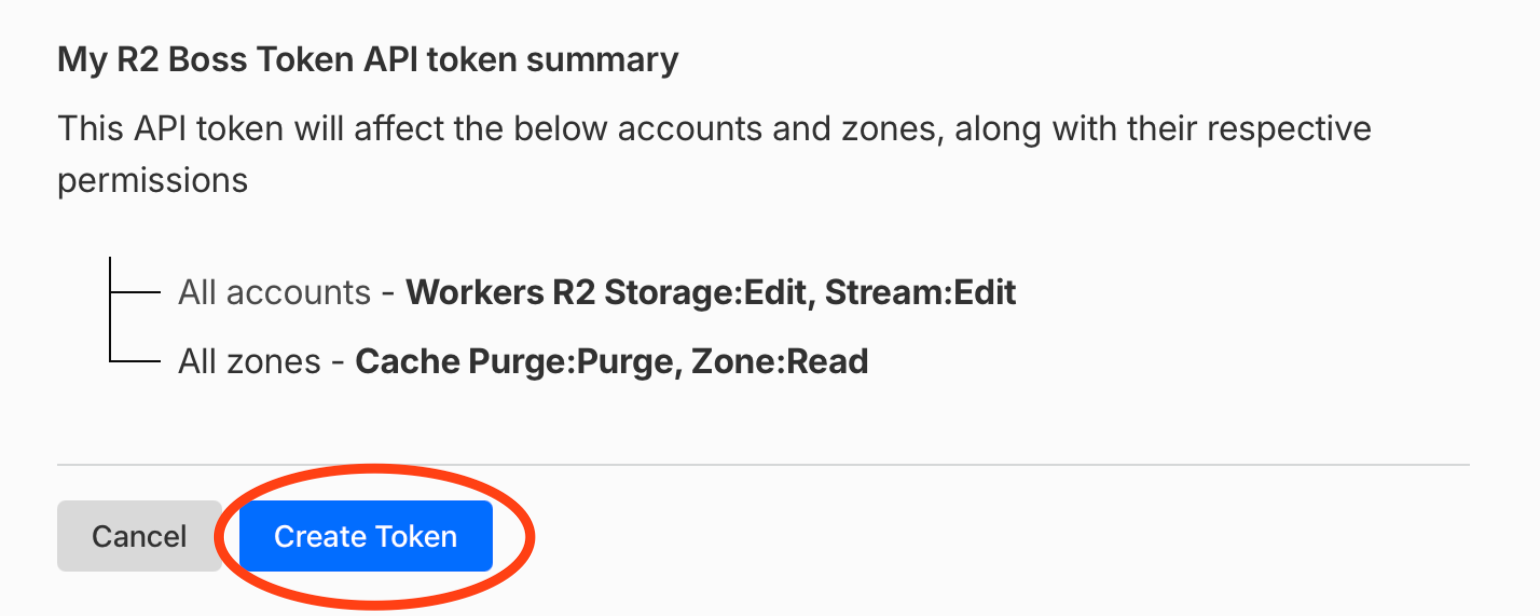
Review the summary, then click “Create Token.”
Copy the token value shown into this field - it's only ever shown once, so make a note of it somewhere secure. This token is separate from the Access Key ID/Secret Access Key below; it's what lets this app create buckets and purge the CDN cache.
3. R2 Access Key ID
Open Manage R2 API Tokens
This is a separate credential from the API Token above - open “Manage R2 API Tokens” via the link below, then click “Create API token.”
Open Manage R2 API Tokens →Choose Object Read & Write
Choose “Object Read & Write.” Creating new buckets and folders uses the API Token above, not this credential, so “Admin Read & Write” isn't needed here.
Give it a name, then continue.
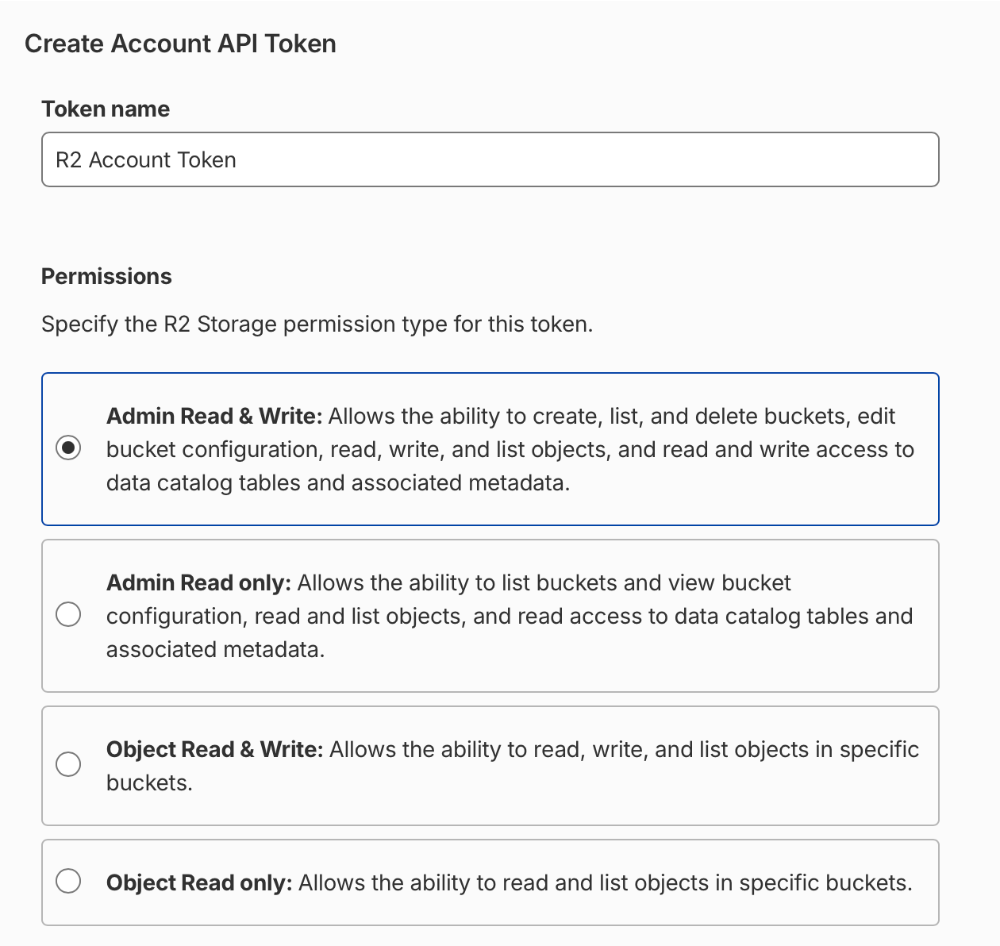
Create the R2 token
Click “Create Account API Token” to finish.
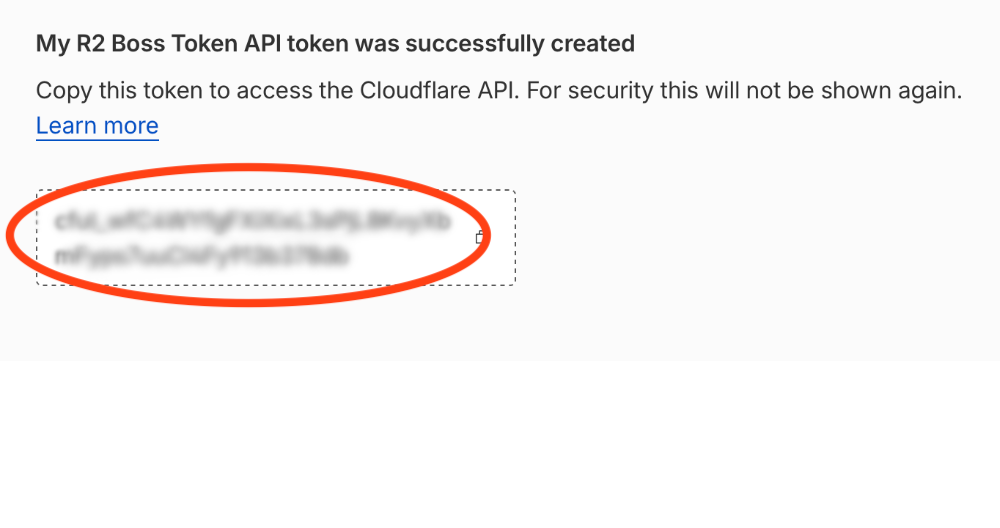
Copy your Access Key ID
Scroll down on that same confirmation page to “Use the following credentials for S3 clients.”
Copy the Access Key ID shown into this field, and the Secret Access Key into the field below - the secret is only ever shown once.
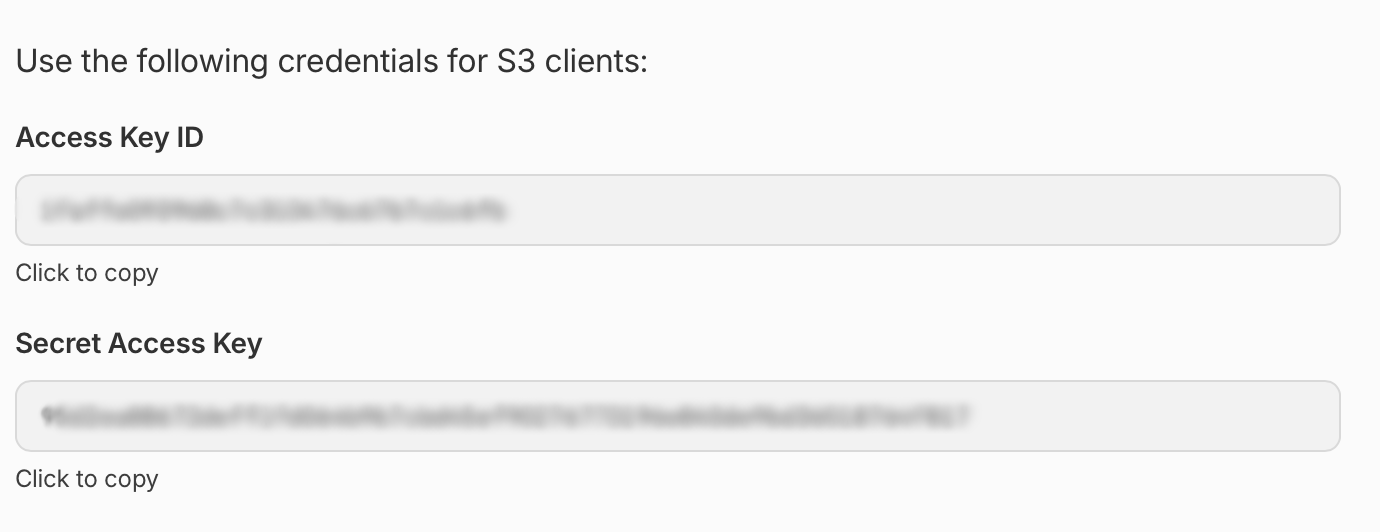
4. R2 Secret Access Key
Copy your Secret Access Key
Shown once, alongside the Access Key ID, when you create that R2 token. If you didn't save it, you'll need to create a new one to get a new pair.
5. Public URL
Open your bucket
Required in order to provide web-ready URLs. Open your bucket list via the link below, then click the bucket you use with this server - the link opens the list, not a specific bucket's settings.
Open your R2 buckets →Open the Settings tab
Open that bucket's “Settings” tab, at the top of the page.
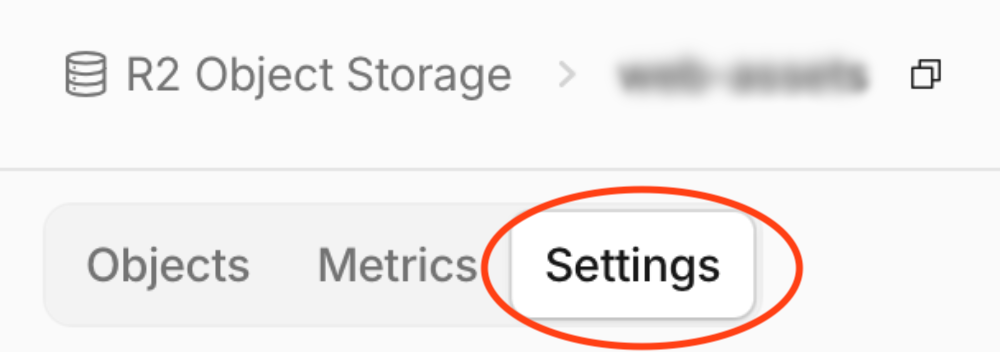
Enable a Custom Domain or Public Development URL
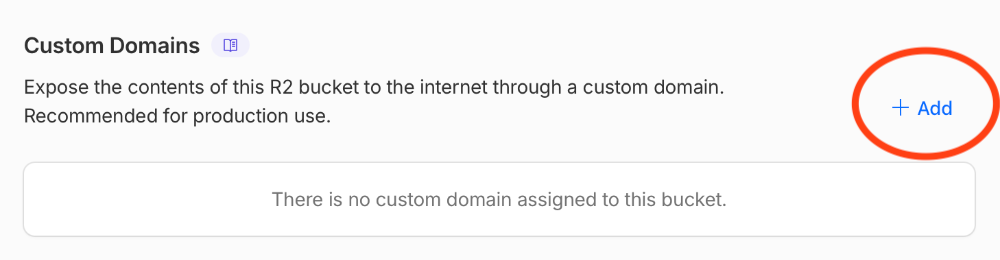
Scroll down to either “Custom Domains” (recommended for production) or “Public Development URL” (a quick, non-production URL) and enable one.
Or hand it off to your LLM
(Optional) Skip the steps above entirely and hand this off instead - copy this prompt into an LLM that has Cloudflare API/“wrangler” access, and it can add the custom domain (or enable the Public Development URL) for you and hand back the value to paste here.
Connect in R2BB
In R2 Bucket Boss, add a new R2 session with your Account ID, the API Token, and your R2 Access Key ID / Secret Access Key from the steps above. The endpoint is:
https://ACCOUNT_ID.r2.cloudflarestorage.com